

how to install laminate flooring in a r.v. with slide outs
Here's the final tutorial about our RV that was totaled a week after we finished renovations, and it's all about how to install RV flooring. We will cover how to remove the previous carpet and linoleum, choosing the right flooring for a RV, preparing to install flooring (especially when you find surprises under the old stuff), and finally how to install RV flooring.
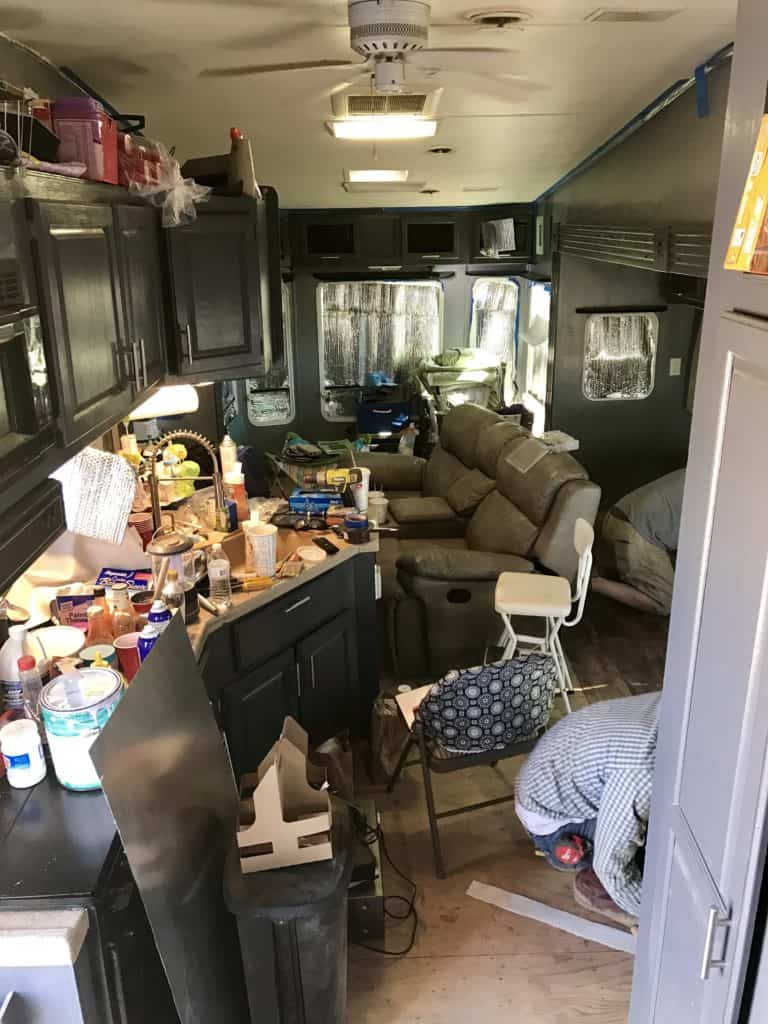
First, here is a reminder of where we began. Carpet covered the living room area and slides. It was in good shape, but carpet in a RV is just not practical, especially in a RV with two dogs.
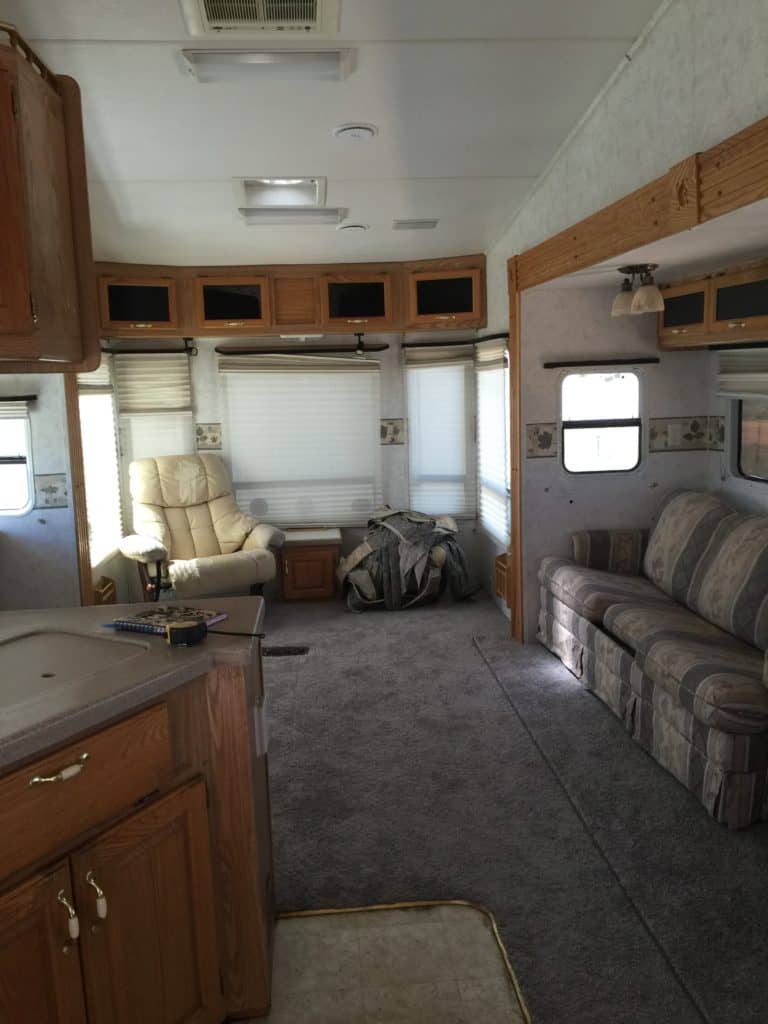
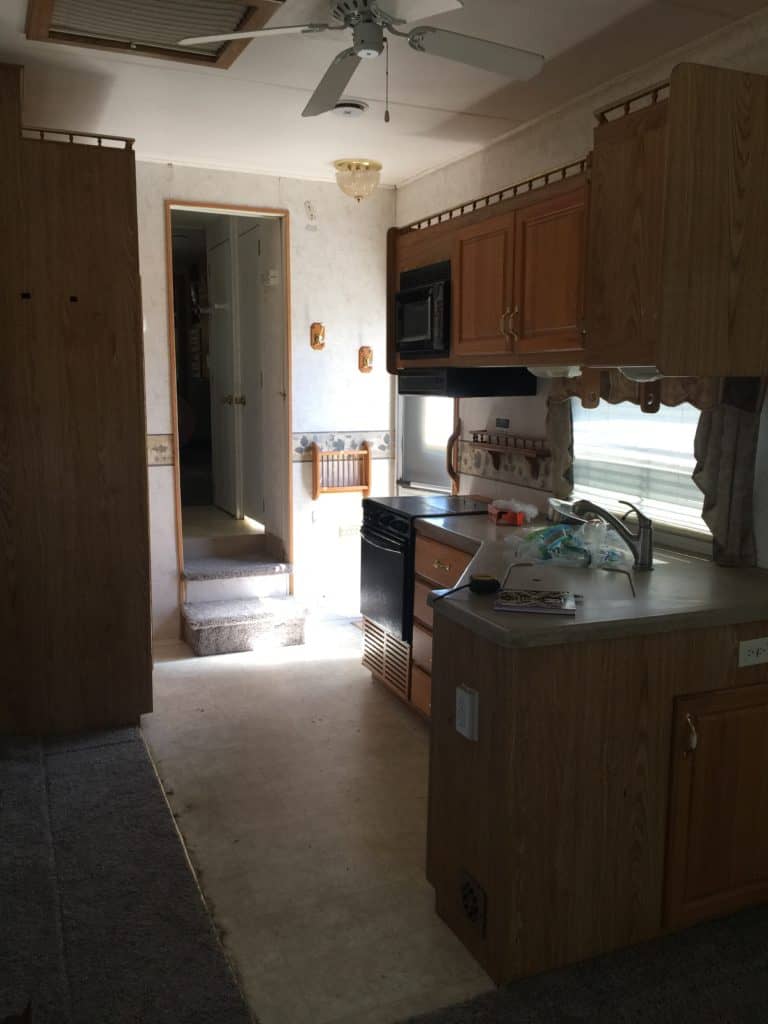
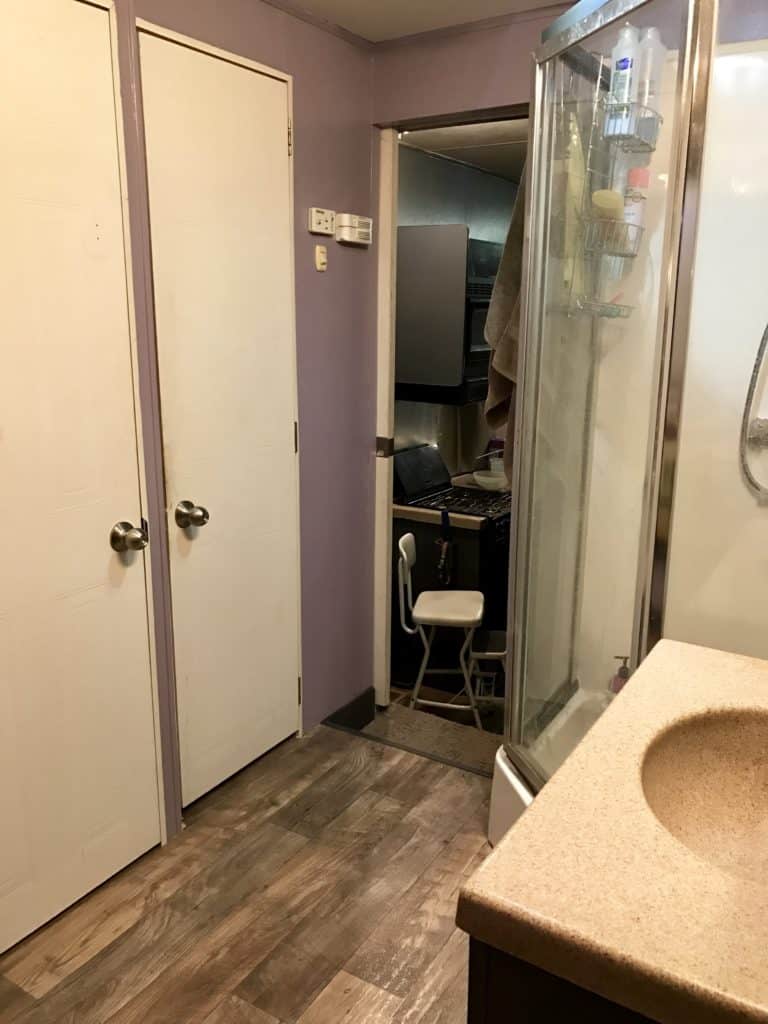
The kitchen area and bathroom floor were linoleum. It had some stains and a tear near the shower. Plus, I didn't like how it broke up the flow of the floor plan. A single flooring throughout would make the RV feel larger and cohesive.
Preparing to Install RV Flooring
Removing the carpet and linoleum didn't take much effort since neither were glued down. We just cut through the material with a linoleum knife and used some muscle to pull it up.
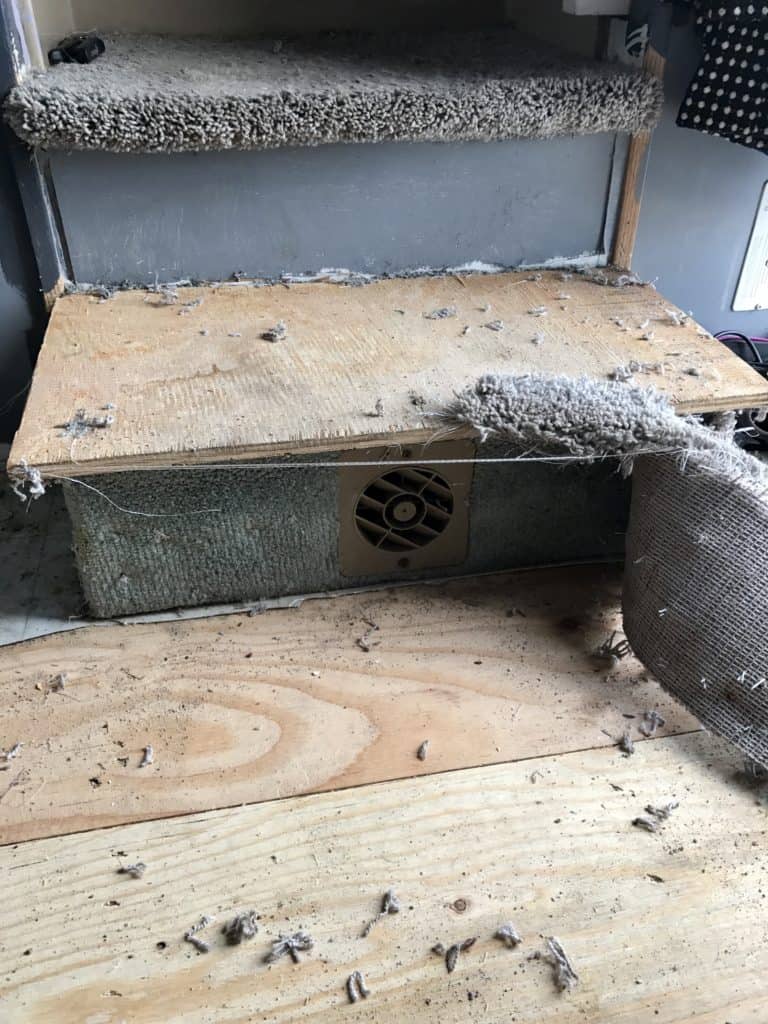
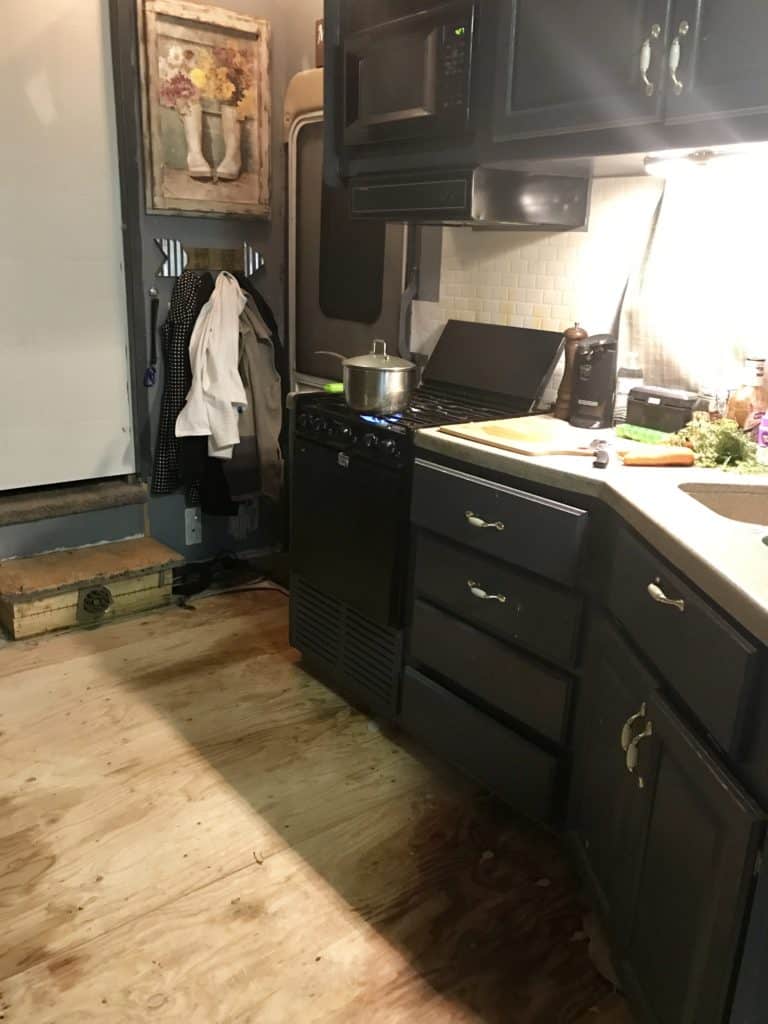
A surprise was hidden behind the carpet on the steps – a vent for the furnace! Why on earth would someone carpet over that? The furnace was not as efficient as expected during the winter, and a RV repair expert recommended installing a 4th vent to accommodate the size of the unit, which we did. Perhaps the previous owner never used the furnace? We were trying to give them the benefit of the doubt.
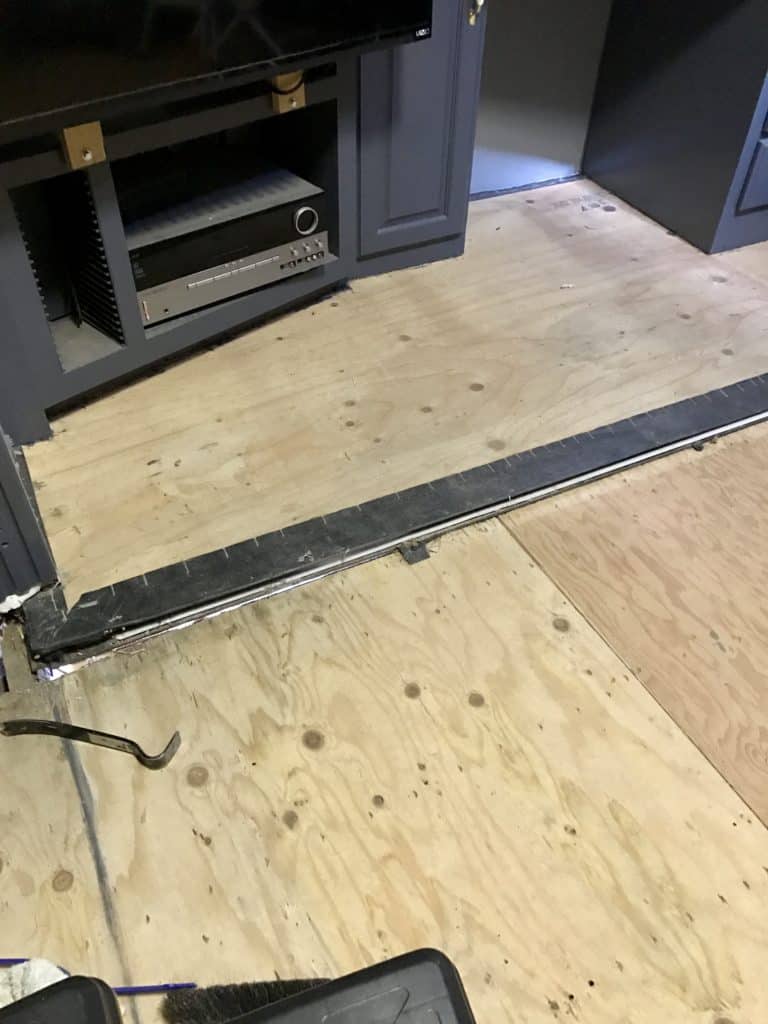
Then second surprise was a gaping hole where the slide containing the entertainment center meets the floor. Our best guess is that there was a tire blowout at some point that caused the damage. Instead of fixing it properly, the previous owners covered it with carpet. Awesome.

The photo above shows the hole repaired with 2 x 4 sized to fit. Because of the pile of the carpet, we never noticed that this slide was uneven. We did some Googling to learn how to make an adjustment to the slide so that everything lined up nicely. Isn't the internet remarkable?
Next we removed a bajillion staples. (That's a technical term.) We each took turns pulling them up one-by-one between taking care of the baby, working, eating and generally getting on with our lives. It took about a week. There were THAT many!

Dave's method of staple removal included a large screwdriver and a hammer. I preferred using vise-grips like this. Rocking it back and forth was easier on the wrist. A good pair of work gloves was helpful too. Thank goodness the baby wasn't mobile yet.
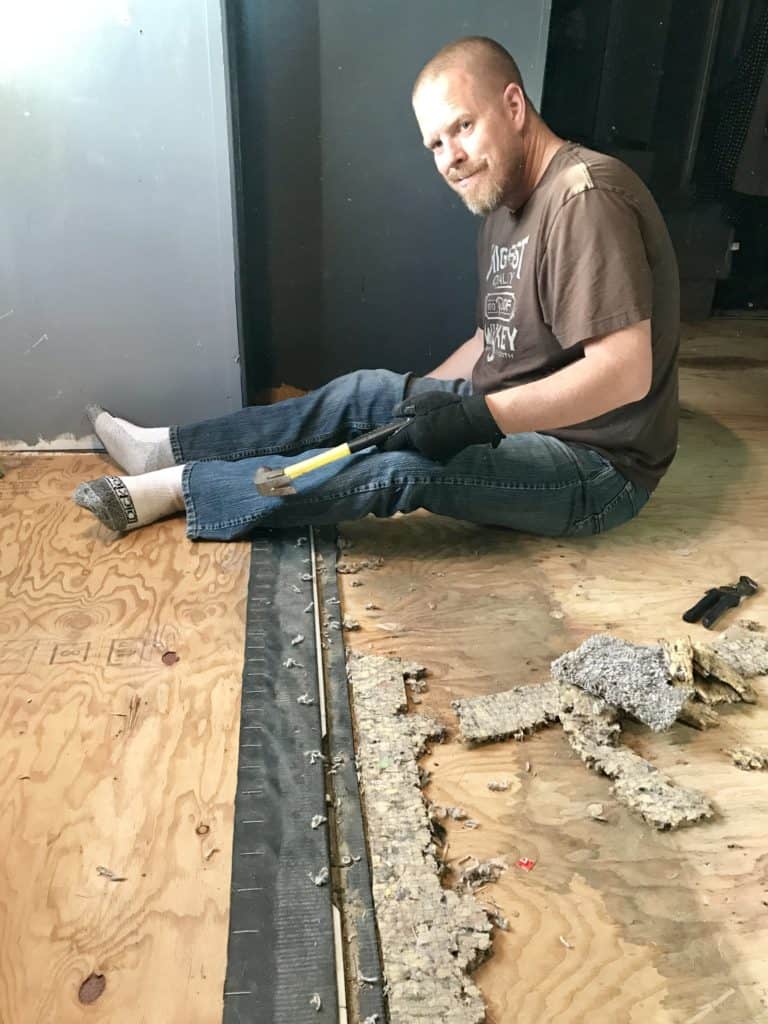
Note: The black liner around the RV's slides should be left in tact and stapled. It serves as a moisture barrier.
Finally we were down to a clean sub-floor and ready to install the new stuff.
Choosing RV Flooring
Obviously we didn't want carpet in the living area, so our flooring options were narrowed down to vinyl planks, sheet vinyl, linoleum, peel-and-stick tiles, and cork. We had success with peel-and-stick tiles in our first RV but wanted to try something new. Cork seemed too fancy for us. Linoleum choices were lacking and outdated, which left us with vinyl planks vs. sheet vinyl.
Many RV bloggers have installed vinyl planks in their rigs, the kind that snap into place. After A LOT of research, we found that about half of them loved their floors. The other half wrote about planks shifting and separating during travel or extreme weather conditions negatively affecting the floor. Those odds weren't great. We also took into consideration that we weren't going to keep the RV long-term. The plan was to flip this RV when the baby was about a year old to give him his own space (outside of his nursery in the living room). A RV flooring choice should be cost-effective and appeal to the masses for resale. We ended up choosing a sheet vinyl for its flexibility, durability and design options.
Of course none of these considerations mattered in the end since our RV was totaled. We mention this because the flooring decision seemed like a big deal at the time. It really wasn't. The moral here is to buy what makes you happy because it might be taken away from you tomorrow.
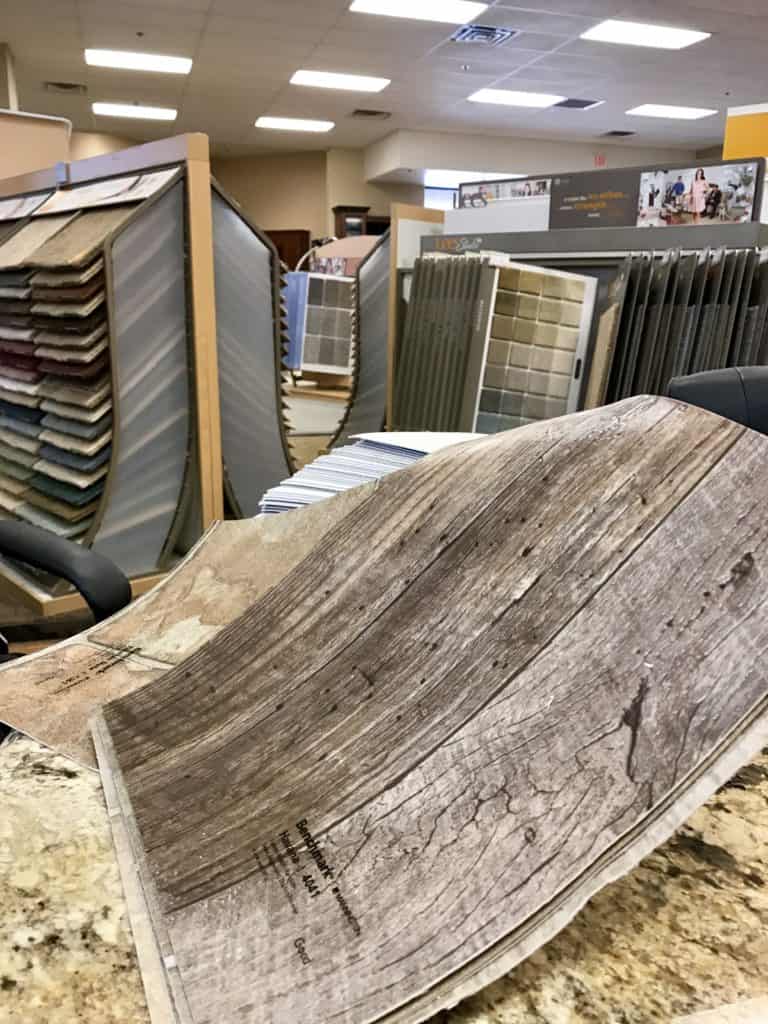
Big box stores either didn't carry vinyl in sheets or only had a couple of options. We were delighted to find books upon books of samples at a local flooring supply store. Just so you know, these types of stores typically won't install flooring in a RV. They will order the product, but you are responsible for installation.
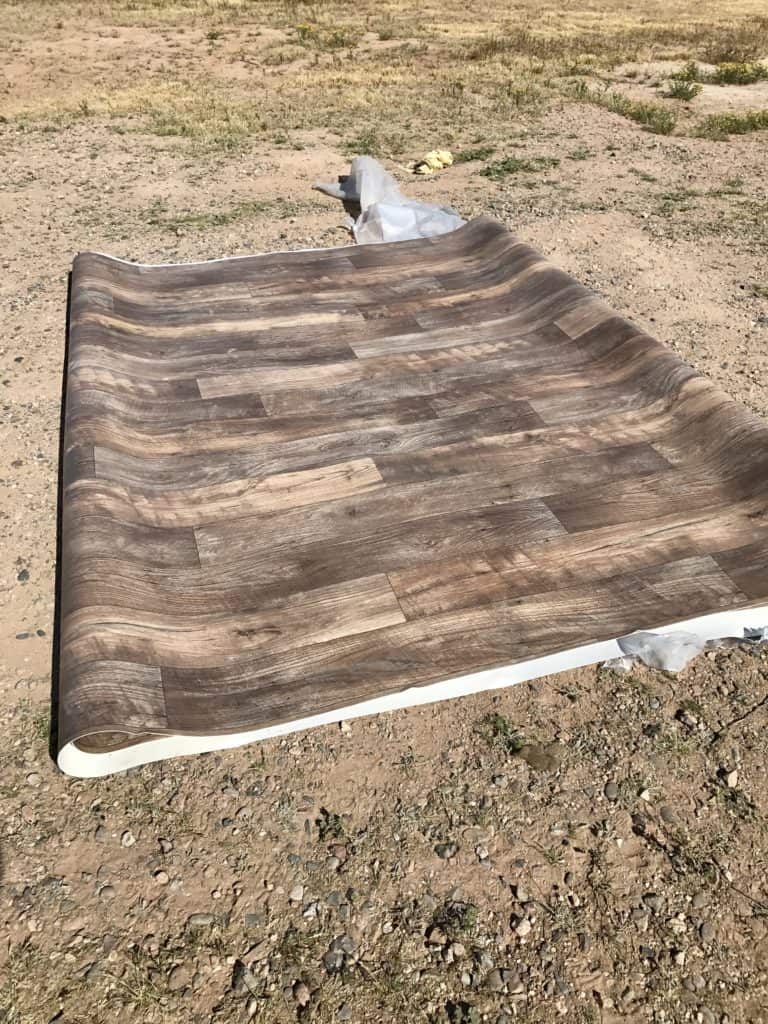
For the design, we chose Havana by Benchmark. It was a faux wood grain in gray and brown tones that was on trend with home design and would match just about anything. This store offered the vinyl in varying thicknesses to customize the comfort level. Considering we lived in the RV and the new buyers might too, we went with a plush option. It was shockingly affordable at $0.80 per square foot!
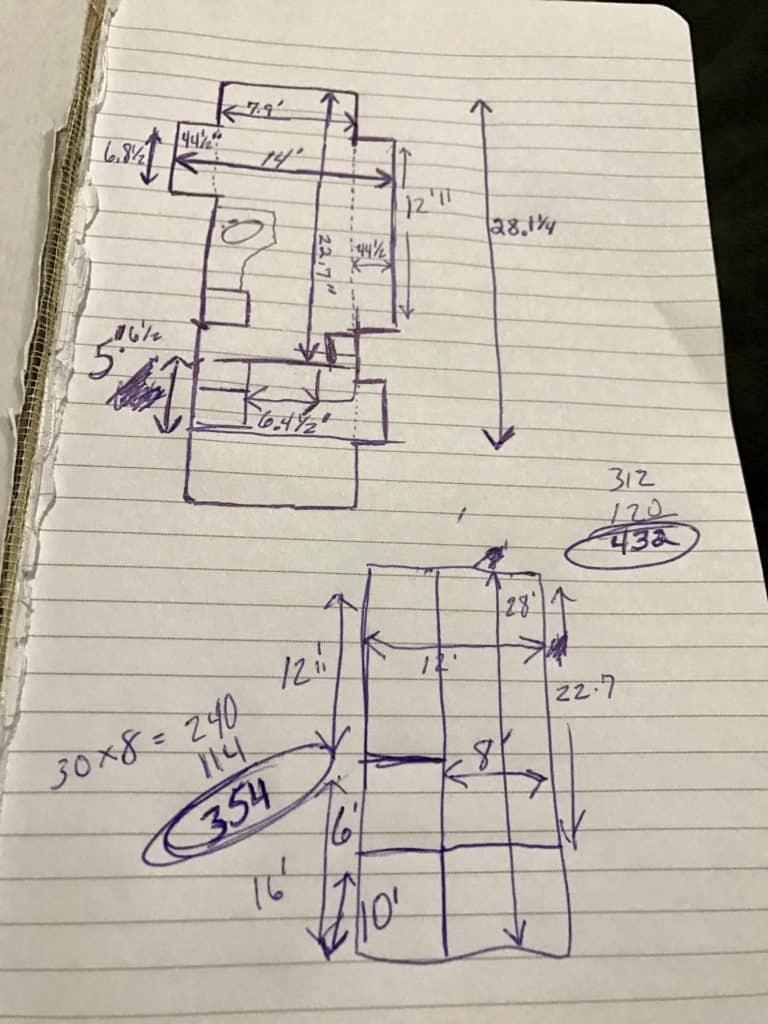
To determine how much vinyl to purchase, we drew a diagram of the RV's measurements to include the slides. Total square footage of the rig was 432 square feet. (Ya, we lived in 432 square feet for over two years, and it was fabulous.) However, we were leaving carpet in the bedroom. After subtracting footage for that, we determined we needed 354 square feet of flooring.
Vinyl sheets were available in 8-foot or 12-foot rolls. The sketch on the lower half of the paper shows how we divided a 12-foot sheet to fit all the nooks and crannies in the RV. A 12′ x 6′ piece would work with room to spare.
Total cost with taxes and fees was $326.94. We picked it up with the RV in tow so we didn't have to mess with strapping it to the truck and risking creasing or damaging the flooring.
On to the installation!
Installing RV Flooring
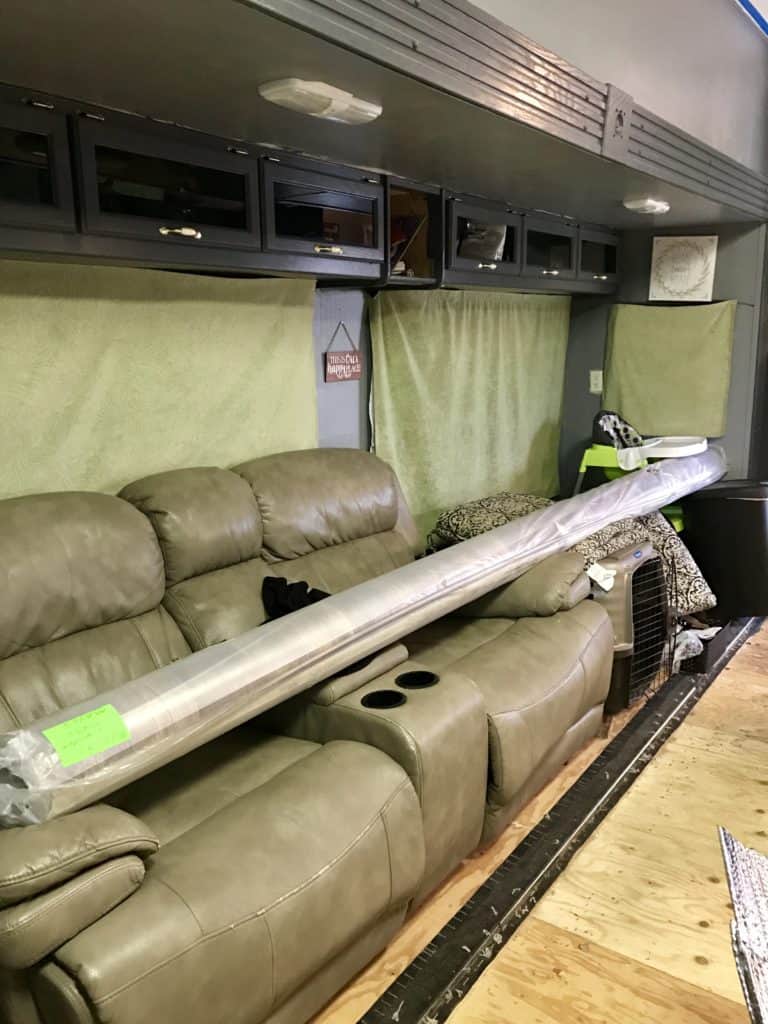
Choose a warm day to install. You only need one. Roll out the flooring, and let it set for a bit to release the wrinkles. We were parked in Phoenix, so this didn't take long at all!
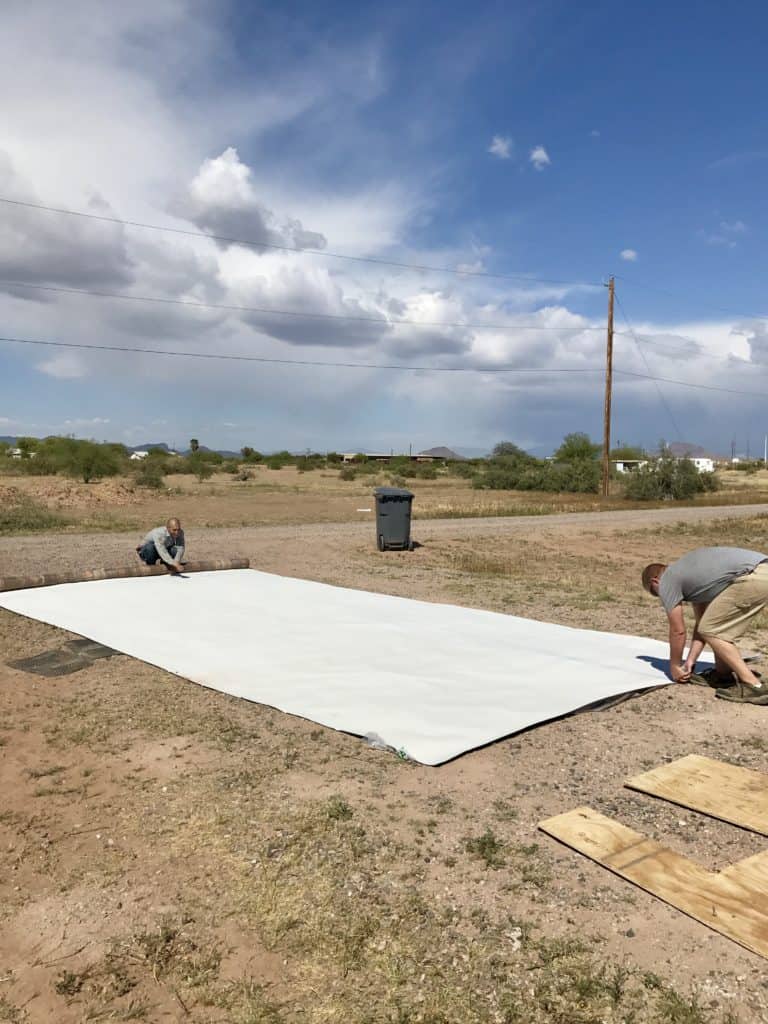
Working in the dust/rock is not ideal, but we that was our reality. Hopefully you have grass or a clean concrete pad to work on.

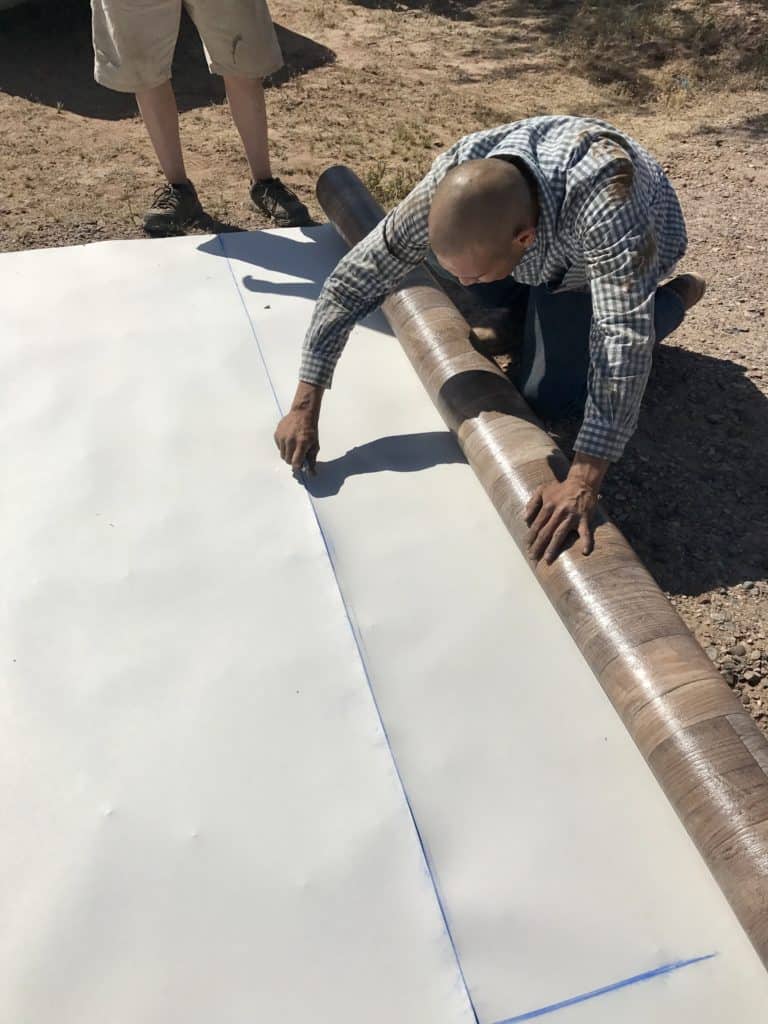
Measure out your cuts and mark them with a chalk line tool. The drawing was helpful for determining how much flooring to buy, but take direct measurements in the RV for this part. Cut large areas outside leaving several extra inches around the perimeter.
That's Jorge in the photo above. We found him on Craigslist in an advertisement for handyman type work. We were on a tight timeline to move across the country and thought paying for help would be well worth the money. It's always a toss-up when you hire in the dark like that, but these two were fantastic. In addition to the flooring install, Jorge fixed the RV magic fan, replaced a light, and adjusted the slides while his girlfriend painstakingly painted a second coat on the interior. I wish he could travel with us!
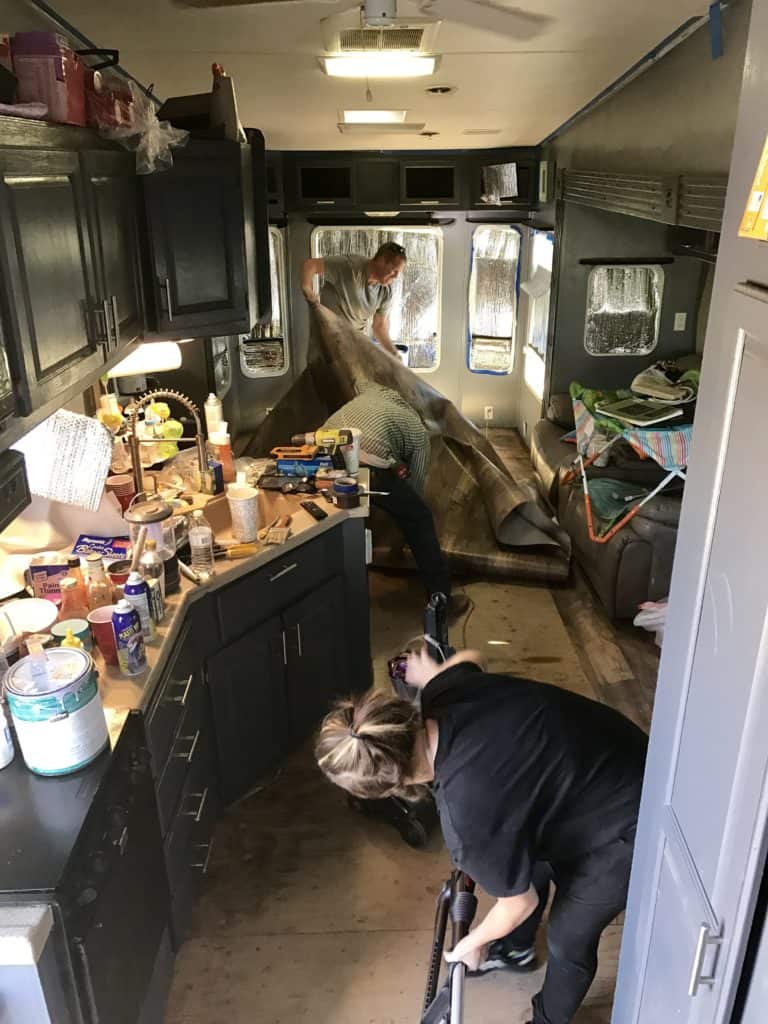
Fold the flooring onto itself to get it back into the RV. It was not heavy at all.
Clear the first area for installation. We worked in sections, beginning with the large slide, rather than clearing out the whole rig. If you prefer order over chaos, move everything out first. This photo makes it look overwhelming, but it was really just a matter of moving things out of the way, installing the RV flooring, then moving all the stuff back.
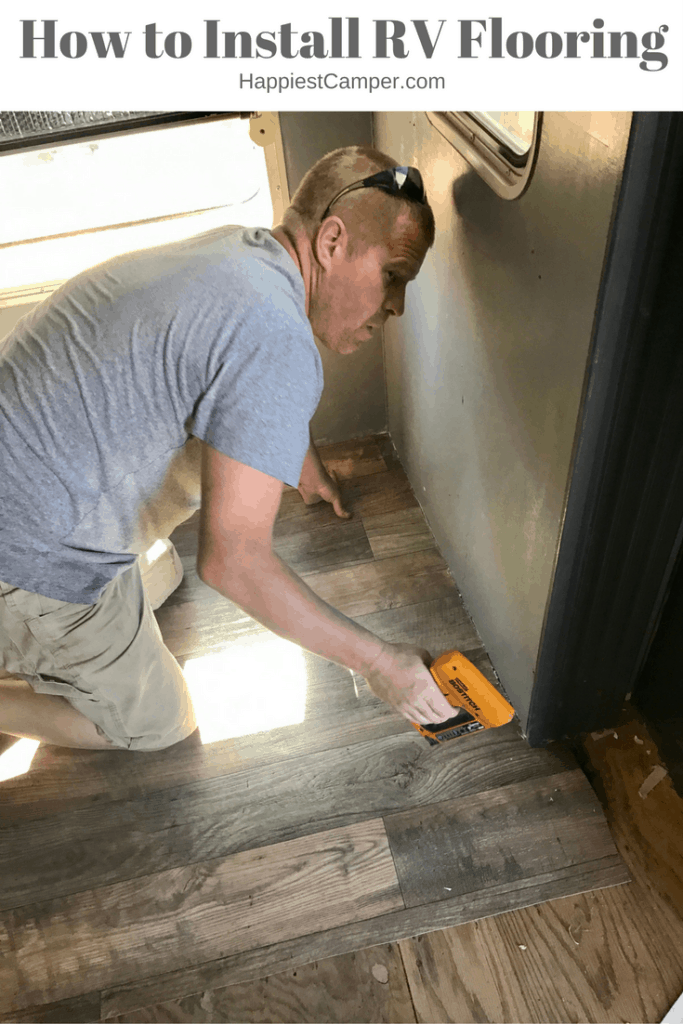
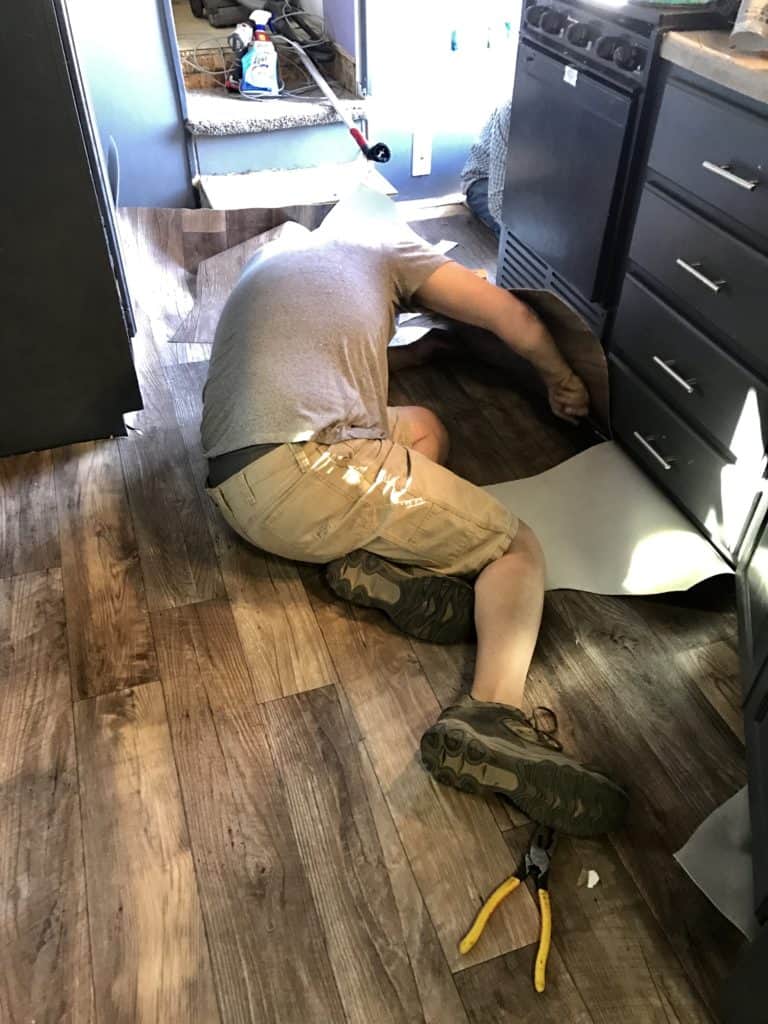
After laying the flooring, make precision cuts with a utility knife. This one is Dave's favorite. Then staple around the perimeter with a heavy duty staple gun. Glue or other adhesive is not necessary. A floating floor will allow for more movement during travel. Do not staple along the front of the slide. Several inches of flooring should hang over the slide as shown in the photo below.
Next we moved to the center of the RV. The larger piece of flooring was more of a challenge to get into place but definitely doable with two people.
Make the precision cuts as close to the cabinets or wall as possible and continue stapling long the edge.
The seam where the floor and wall meet can be finished like any home with baseboard, quarter round or vinyl molding. We were not able to get to this step before the RV was totaled, so please share the finished product with us if you follow this tutorial to install flooring in your RV.

How to handle the front of the slides was a bit of a mystery when we began this project. We weren't sure if we would put a piece of trim across it or something similar, but it looked great on its own. The slides were moved in and out several times during our trip across the country, and they slid perfectly without leaving a mark. It was hard to tell where one piece of flooring ended and another began.
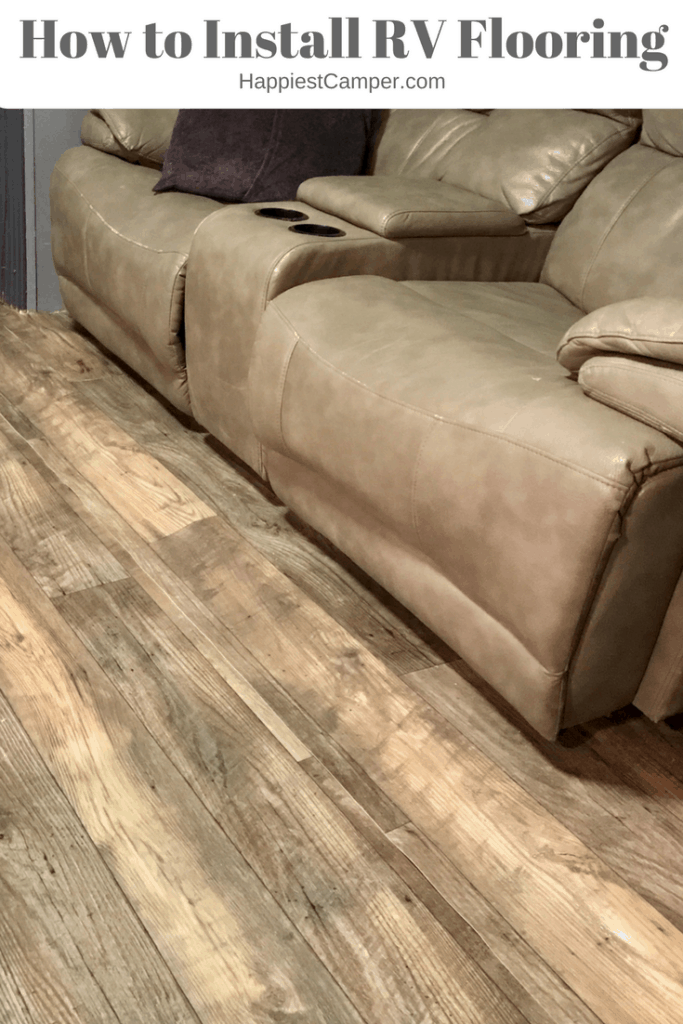
We enjoyed the RV flooring very much while we could and recommend this project to any RVer. It was much easier and faster than we anticipated. When it was all said and done it took about an afternoon. Really. That's all!
The result was well worth the effort. It's a shame we didn't get to enjoy the new flooring in our RV longer. Maybe we'll put it in the next one…
More RV and Camping Ideas
- 10 Things I learned Living Full Time in an RV
- How to Choose a Generator
- 21 Easy and Delicious RV Dinners
- RV Window Coverings for Insulation
- RV Dinner Ideas
- How to Replace a RV Faucet
- How to Replace LED Lights in a RV
- RV Necessities
how to install laminate flooring in a r.v. with slide outs
Source: https://happiestcamper.com/how-to-install-rv-flooring/
Posted by: wilkersonpeding.blogspot.com
0 Response to "how to install laminate flooring in a r.v. with slide outs"
Post a Comment